
How to Set Up Ollama on Windows (CPU Only)
Artificial intelligence tools no longer require massive cloud subscriptions or expensive enterprise server hardware. With the rapid evolution of local open-weight language models, you can run powerful Large Language Models (LLMs) directly on your personal computer. If you do not own a high-end dedicated graphics card with massive VRAM, you might assume local AI is completely out of reach. Fortunately, that assumption is incorrect.
Ollama has emerged as one of the most popular, efficient frameworks for running local LLMs on consumer hardware. While graphics processing units (GPUs) accelerate AI workloads significantly, Ollama features native fallback support for CPU execution using AVX/AVX2 instruction sets and quantized GGUF models.
This guide provides a comprehensive Ollama Windows CPU setup tutorial designed specifically for budget-conscious tech explorers, students, and developers working on standard Windows laptops or older desktop systems. By following this tutorial, you will learn how to install, configure, and optimize local AI on your Windows CPU without buying hardware upgrades.
Why Run Ollama on a Windows CPU?
For many users, cloud-based AI services introduce recurring monthly subscription fees, privacy concerns, and strict API rate limits. Running models locally solves these challenges, but hardware requirements often present a major hurdle. Modern dedicated GPUs with 12GB or 16GB of VRAM can be prohibitively expensive.
Choosing to run local AI on a Windows CPU offers several key benefits:
- Zero Hardware Cost: You can use your existing Windows laptop or desktop PC without investing in discrete GPUs or specialized AI accelerators.
- Complete Data Privacy: Your prompts, code snippets, and personal notes remain stored entirely on your local drive. Nothing is transmitted to external cloud servers.
- Offline Accessibility: Once installed, Ollama operates completely offline without requiring an active internet connection.
- Low-Barrier Entry: Installing Ollama on Windows requires minimal command-line experience compared to manual Python dependencies or C++ compilation frameworks.
While CPU inference is slower than dedicated GPU execution, modern lightweight models and quantization techniques make CPU-based local AI completely practical for draft writing, summarization, offline coding assistance, and experimental workflows. If you are curious about hardware feasibility, you can learn more about how to run Ollama without a dedicated GPU on consumer PCs.
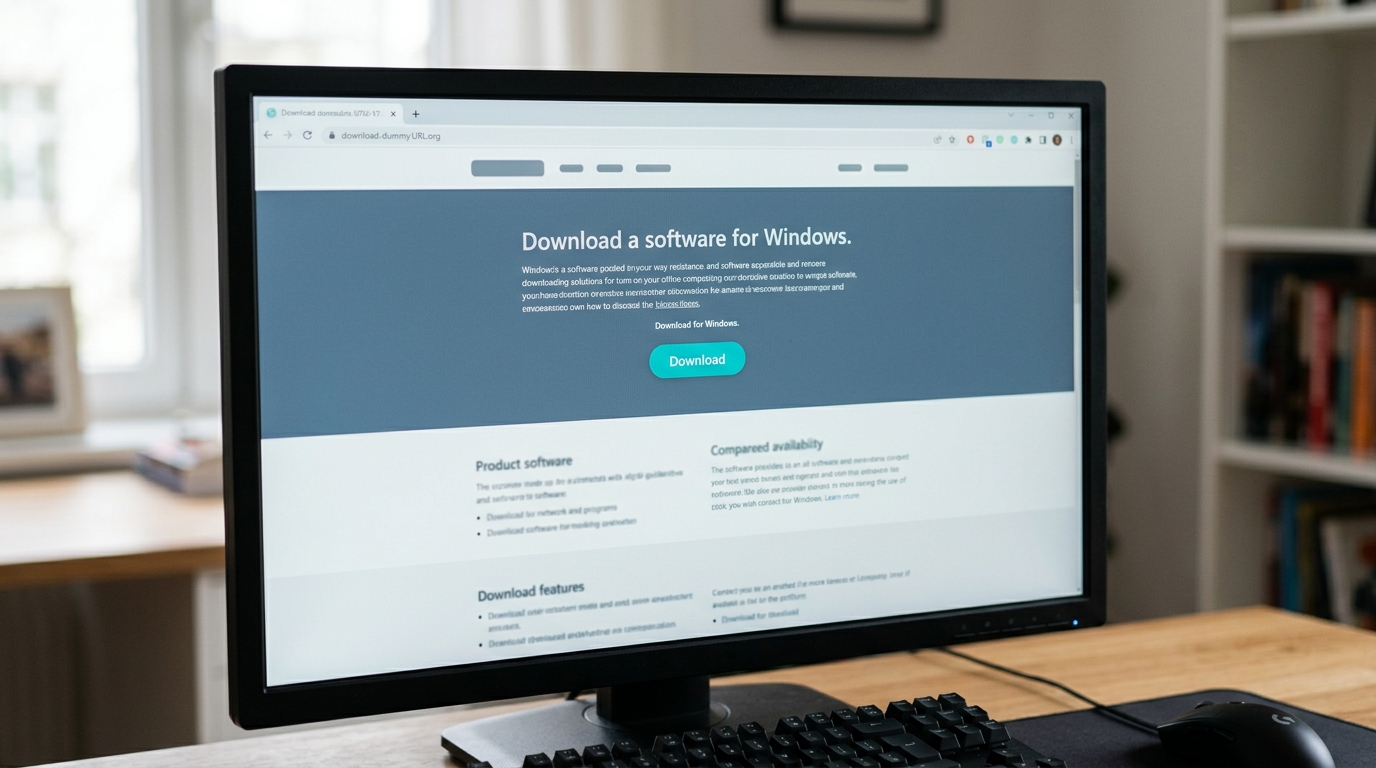
Ollama Windows CPU setup download page showing the installer download button.
Prerequisites for Ollama Windows Installation CPU
Before initiating the setup process, ensure your Windows system meets the basic hardware and software prerequisites required for stable CPU execution.
System Requirements
- Operating System: Windows 10 (64-bit, version 1909 or higher) or Windows 11.
- Processor (CPU): 64-bit Intel Core or AMD Ryzen processor supporting AVX or AVX2 instruction sets (most processors manufactured after 2013 include AVX support).
- System RAM:
* Minimum: 8 GB RAM (suitable for small 1B to 3B parameter models).
* Recommended: 16 GB RAM or higher (enables smooth execution of 7B and 8B parameter models). - Storage: At least 10 GB to 20 GB of free SSD storage (Solid State Drives are strongly recommended over traditional HDDs for faster model loading times).
- Terminal Access: Basic familiarity with Windows PowerShell or Command Prompt (
cmd).
How to Install Ollama Windows CPU (Step-by-Step Tutorial)
Follow these step-by-step instructions to complete your Ollama Windows CPU setup in under ten minutes.
Step 1: Download the Installer
- Open your web browser and navigate to the official download page at
ollama.com/download. - Select the Windows tab on the download page.
- Click the Download for Windows button to download the native Windows setup executable (
OllamaSetup.exe). - Wait for the download to complete, then open your Windows downloads folder.
Step 2: Run the Setup for Beginners
- Double-click
OllamaSetup.exeto launch the official installer. - Click Install when prompted by the setup window. The installer will automatically extract necessary binaries and set up background service paths.
- If prompted by Windows User Account Control (UAC), click Yes to grant administrative permissions.
- Once the installation process completes, Ollama will automatically start as a Windows background process. You will see a small llama icon in your Windows system tray (near the system clock).
Step 3: Verify the Installation
- Open Windows PowerShell or Command Prompt by pressing
Win + R, typingpowershell, and hittingEnter. - In the terminal window, verify that the Ollama executable path was registered correctly by running:
bash

ollama --version - If the installation succeeded, terminal output will display the installed version number (e.g.,
ollama version is 0.x.x). - To test model downloading and execution on your CPU, run a lightweight model like Phi-3 Mini or Llama 3:
bash

ollama run phi3:mini - Ollama will automatically download the model manifest and weights, load the quantized layers into your system RAM, and open an interactive chat prompt (
>>>).
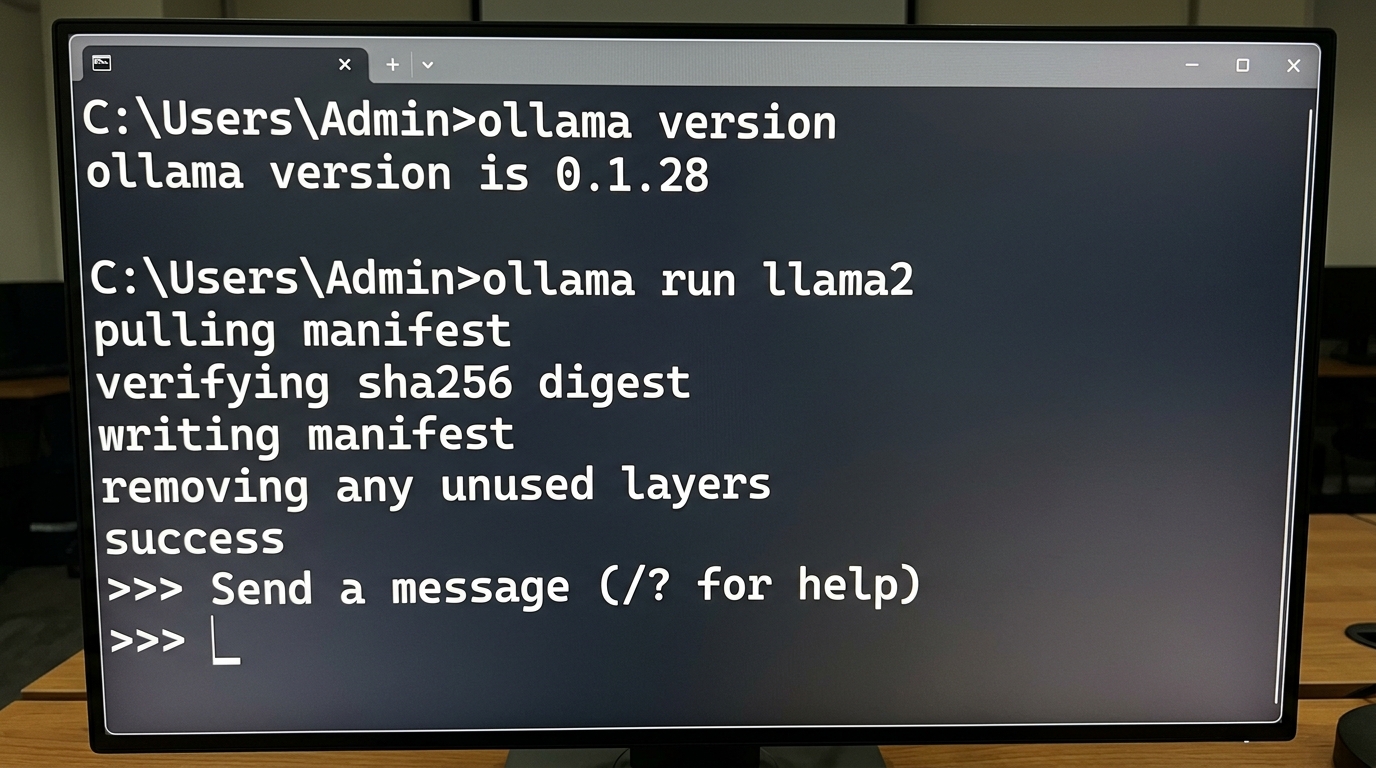
Command prompt confirming successful Ollama Windows CPU setup and model execution.
Ollama CPU Configuration Best Practices
Because CPU RAM bandwidth is lower than dedicated VRAM bandwidth, proper system configuration ensures optimal response generation speeds. Follow these configuration guidelines to maximize your CPU throughput:
1. Configure System Environment Variables
By default, Ollama manages model storage and host bindings automatically. However, you can customize execution parameters using Windows Environment Variables:
* OLLAMA_NUM_PARALLEL: Set this variable to 1 on low-memory systems to prevent multiple simultaneous inference requests from overwhelming your CPU threads.
* OLLAMA_MODELS: Redirect model storage to a secondary high-speed SSD partition if your primary C: drive has limited capacity (e.g., D:\ollama_models).
To add environment variables on Windows:
1. Search for “Edit the system environment variables” in the Windows Start menu.
2. Click Environment Variables.
3. Under User variables, click New, enter the variable name and value, then click OK.
2. Manage Thread Count and System Background Tasks
Close memory-intensive background applications (such as web browsers with dozens of open tabs, media streaming applications, or virtual machines) before launching Ollama. This frees up memory channels and system RAM for matrix math operations.
To evaluate detailed system hardware standards and benchmark metrics, refer to our comprehensive guide on Ollama CPU performance metrics.
Common Issues in the Ollama CPU Only Guide
While Ollama’s Windows installer is designed for simplicity, you may encounter occasional issues during setup or initial run. Here is how to resolve the most common errors:
Issue 1: “Ollama command not recognized”
- Cause: The system environment path was not updated in the currently open command prompt.
- Fix: Close all open PowerShell or Command Prompt windows and open a new terminal. If the error persists, restart your Windows computer.
Issue 2: Slow Token Output or Out of Memory Errors
- Cause: Attempting to run a model that exceeds available physical RAM forces Windows to swap memory to disk (paging file), leading to severe slowdowns.
- Fix: Choose 4-bit quantized GGUF models requiring 4GB–8GB of RAM. You can explore the best lightweight models for CPU to select models tailored for low-memory environments.
Issue 3: High CPU Thermal Throttling
- Cause: Sustained local LLM generation utilizes all available CPU cores, generating heat on thin laptop designs.
- Fix: Ensure proper ventilation around your laptop cooling vents, elevate the laptop base, or use Windows Power Plan settings to cap maximum processor state at 90–95%.
Frequently Asked Questions (FAQ)
Can I run Ollama on Windows without an Nvidia or AMD GPU?
Yes. Ollama automatically detects your system hardware on startup. If no compatible discrete GPU is present, it defaults seamlessly to CPU execution using CPU SIMD instructions (such as AVX2).
How much RAM do I need for an Ollama Windows CPU setup?
For smooth performance, 8 GB of RAM is sufficient for 2B–3B parameter models (such as Phi-3 Mini or Gemma 2B). For 7B or 8B parameter models, 16 GB of RAM is strongly recommended.
Does Ollama work on ARM-based Windows laptops?
Ollama provides Windows builds primarily optimized for x86_64 architecture. ARM64 support on Windows is evolving; check the official documentation for native Windows on ARM binaries.
Is Ollama completely free to install and use?
Yes. Ollama is an open-source project released under the MIT license, and the open-weight models available in the Ollama library are free to download for local use.
Summary: You have successfully completed your Ollama Windows CPU setup! You can now experiment with offline AI assistants, local coding copilots, and private content generation directly on your Windows PC.